
Quick Summary
To reconcile accounts in QuickBooks Online, go to Accounting, then Reconcile, select the bank or credit card account, and enter the statement ending date and balance exactly as printed. Then mark each transaction that appears on the statement as cleared until the difference reaches zero.
- Gather the latest statement, its ending date and balance, and receipts before you start.
- Confirm the opening balance on your first reconciliation, since errors carry into later periods.
- Mark deposits first, then payments and checks, and add any bank fees or interest missing from your books.
- A zero difference means your books match the bank; never plug the gap with a fake or journal entry.
- Undo a reconciliation only for a specific error, and check the following period’s beginning balance afterward.
Table of Contents
- What Account Reconciliation Is and Why It Matters in QuickBooks Online
- Pre-Reconciliation Checklist: What to Gather Before You Start
- How to Reconcile in QuickBooks Online for the First Time
- Step-by-Step: Reconciling Accounts and Matching Transactions
- How to Reconcile a Credit Card Account in QuickBooks Online
- Fixing a QuickBooks Reconciliation Discrepancy
- How to Undo a Reconciliation in QuickBooks Online Safely
- Booking Your Free Evaluation for Clean, Reconciled Books
- Frequently Asked Questions
What Account Reconciliation Is and Why It Matters in QuickBooks Online
Account reconciliation is the process of comparing your QuickBooks Online records against your bank or credit card statement to confirm they match.
Reconciling accounts in QuickBooks Online is one of the simplest habits that keeps your financial records trustworthy.
Reconciliation matters for three practical reasons:
- It catches errors early. Bank fees, duplicate entries and missed payments show up fast.
- It reveals fraud. An unfamiliar charge on your statement that is missing from your books is worth investigating.
- It gives you reliable reports. Profit and loss numbers only mean something when the underlying cash is accurate.
Think of reconciliation as a regular check, not a one-time cleanup. Most businesses find it works best once a month, right after the bank statement arrives.
Pre-Reconciliation Checklist: What to Gather Before You Start
Good reconciliations begin with preparation. Most delays happen because a statement or receipt is missing halfway through.
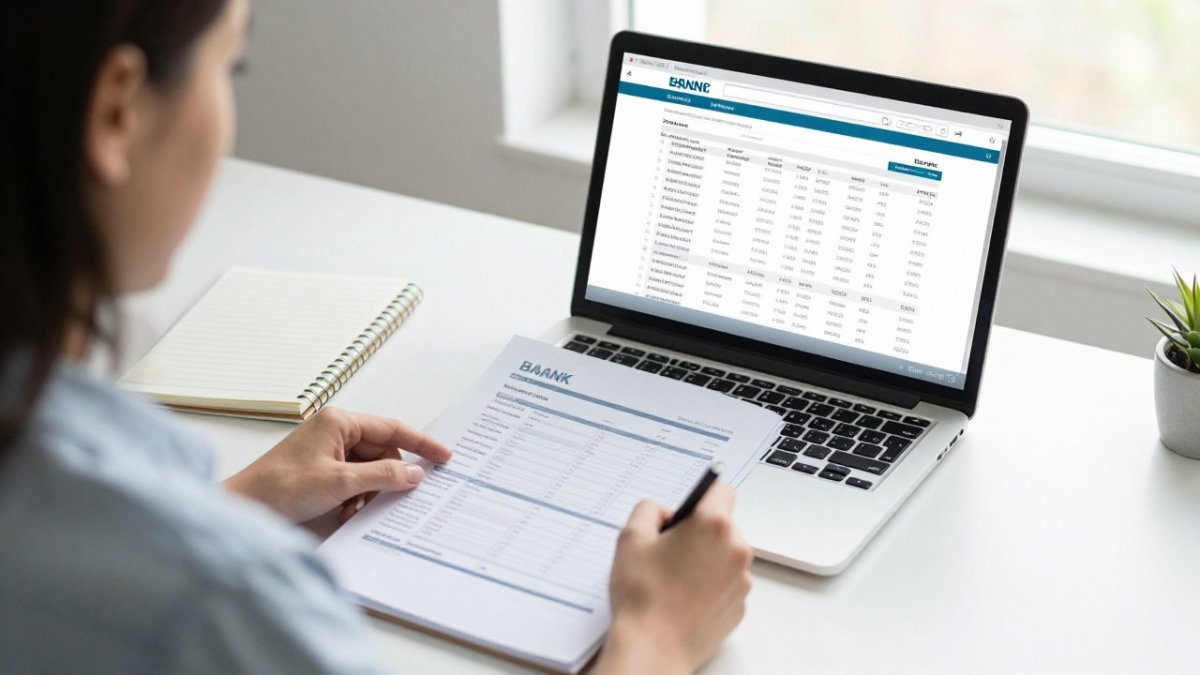
Before you open QuickBooks Online, gather these items:
- The most recent bank or credit card statement, in PDF or on screen
- The exact statement ending date and ending balance
- Receipts or invoices for any transactions you cannot identify
A common mistake is starting before your latest transactions have posted. Wait until the statement is final, so the ending balance will not change while you work.
How to Reconcile in QuickBooks Online for the First Time
Your first reconciliation takes longer because you are setting a starting point. Do not worry about the time it takes.
Follow this sequence:
- Find the reconciliation tool. Go to Accounting, then Reconcile.
- Select the bank or credit card account. Choose the account that matches your statement.
- Enter the statement details. Type the ending date and ending balance exactly as printed.
- Review the beginning balance. For a first reconciliation, QuickBooks Online may ask you to confirm the opening balance. Check it against your statement.
- Start matching. Work through the list of transactions.
Here is a simple example. Suppose your statement ends on March 31 with a balance of $4,820.15.
Watch out: if you skip the opening balance check, every later reconciliation inherits the same error. Confirm it once, carefully.
Step-by-Step: Reconciling Accounts and Matching Transactions
Once you have the account open, the matching work begins. QuickBooks Online lists your recorded transactions. Your job is to compare each one to the statement.
Entering the Statement Ending Date and Balance
Start with the two numbers that define the statement period. Enter the statement ending date exactly as it appears on the bank document. Then enter the statement ending balance to the penny.
These two figures anchor the reconciliation. If either is wrong, the difference will never reach zero, no matter how carefully you match. Double-check both before continuing.
Marking Deposits, Payments, and Checks as Cleared
Next, mark each transaction that appears on your statement.
As you go, the cleared balance updates at the top of the screen.
Work in this order to save time:
- Mark all deposits first, since they are usually the easiest to match.
- Mark payments and checks next.
- Add any bank fees or interest that appear on the statement but not in your books.
When the difference reaches zero, select Finish now. QuickBooks Online will save a reconciliation report you can review later.
The table below summarises the reconciliation steps and the cell-level checks covered in this section, so you can follow the sequence at a glance.
| Step | What to do | Note |
|---|---|---|
| Enter statement details | Type the ending date and ending balance exactly as printed | Errors here prevent a zero difference |
| Mark deposits | Check every deposit that appears on the statement | Usually the easiest group to match |
| Mark payments and checks | Check each payment and check that clears the bank | Work after deposits |
| Add fees and interest | Record statement items missing from your books | Bank fees and interest often appear only on the statement |
| Confirm the difference | Watch the cleared balance until the difference reaches zero | Zero means your books match the bank |
| Finish and save | Select Finish now | QuickBooks saves a reconciliation report |
How to Reconcile a Credit Card Account in QuickBooks Online
Credit card reconciliation follows the same steps, but the terms differ. Your statement shows charges and payments rather than deposits and withdrawals.
Select the credit card account in the reconciliation tool and enter the statement ending date and balance.
Pay close attention to these common issues:
- Refunds and returns may appear as credits, not charges.
- Pending charges may not yet appear on the statement.
- Payments you made to the card should match the bank account that paid them.
Credit cards often carry many small purchases. Match the large items first, then work down to the small ones.
Fixing a QuickBooks Reconciliation Discrepancy
A discrepancy means the cleared balance in QuickBooks Online does not match the statement ending balance. The difference field at the top of the reconcile screen tells you how far apart the two figures are.
Start by writing down the difference to the penny. Then work through the symptoms below in order. If you would rather have professional help fixing a discrepancy, see how QuickBooks reconciliation services can resolve it.
Symptom: The difference is a round number
A difference of exactly $50.00, $100.00, or $250.00 usually points to a single missing or duplicated transaction of that size. Scan the statement for a deposit, check, or fee at that exact amount and confirm whether it is recorded in QuickBooks Online and marked cleared.
Symptom: The difference is small and odd
A few cents or an odd figure like $0.37 often means a bank fee, interest charge, or a transaction entered at the wrong amount. Compare the statement line by line against the cleared list.
Symptom: The difference equals a transaction you know about
If the difference matches a check you wrote or a transfer you made, the transaction is probably recorded but not marked cleared, or marked cleared in the wrong period. Open the transaction, confirm the date falls inside the statement period, and check its cleared status.
Symptom: The beginning balance is wrong
If the difference has carried forward unchanged from a prior month, the opening balance is the likely culprit. Open the reconciliation history for the account and compare the beginning balance on the current reconciliation to the ending balance of the previous one. They must match exactly. If they do not, the earlier reconciliation needs correction before this one can close.
Symptom: Transactions are missing entirely
When the bank shows activity your books do not, add the transaction in QuickBooks Online, then return to the reconcile screen and mark it cleared. Typical examples are bank fees, interest, automatic payments, and merchant processing charges that post only on the statement.
Symptom: Duplicates
If the difference equals a transaction amount and you can see two identical entries, one is a duplicate. Delete the extra copy rather than voiding it, then recheck the difference.
Worked example
Suppose the statement ends March 31 with a balance of $4,820.15 and QuickBooks Online shows a cleared balance of $4,760.15.
Watch out: do not plug the difference with a journal entry or a fake transaction to force a zero.
If the difference will not resolve after these checks, print the reconciliation report and the statement, then compare them side by side.
How to Undo a Reconciliation in QuickBooks Online Safely
Undoing a completed reconciliation is sometimes necessary, but it should be a deliberate step, not a reflex. QuickBooks Online lets you reopen a reconciled period, but the change affects cleared status, reports, and any later reconciliation that depends on that period’s ending balance.
Before you undo anything
Confirm three things first:
- The exact error. Identify the transaction, amount, and period involved. A vague sense that something is wrong is not enough reason to reopen a closed period.
- The downstream impact. If later reconciliations were completed, undoing an earlier one can leave the beginning balance of the next period out of step. Note which periods are affected.
- A written record. Write down what you plan to change and why. This note helps you, your bookkeeper, and your accountant trace the correction later.
Step-by-step correction
- Go to Accounting, then Reconcile.
- Open the Reconciliation history for the affected account.
- Select the reconciliation you need to reopen and choose the undo option.
- Make the correction in the transaction list, fix the amount, date, or cleared status, or add the missing transaction.
- Return to the reconcile screen, re-enter the statement ending date and balance, and re-mark transactions as cleared.
- Confirm the difference returns to zero, then finish and save the reconciliation again.
Undoing a reconciliation does not delete transactions. It only reopens the period so cleared status can be changed. That distinction matters: the underlying records stay intact, which is why the correction is usually safer than deleting and re-entering transactions.
Correcting without creating new discrepancies
Undoing one period can shift the beginning balance of the next, so check the following period after any correction.
Watch out: avoid undoing several reconciliations at once to “start fresh.” Each reopened period multiplies the chance of a mismatch, and the cleanup becomes harder to trace. Fix one period at a time and verify before moving on.
When to leave the reconciliation alone
If the error is small, isolated, and does not affect the current period’s beginning balance, a correcting entry dated in the current open period is often cleaner than reopening a closed one. Undoing is generally reserved for errors that change a reported balance or affect a tax filing. Document the decision either way so the audit trail stays clear.
Booking Your Free Evaluation for Clean, Reconciled Books
If reconciling feels overwhelming, you do not have to figure it out alone. Find out whether it is time to outsource your bookkeeping.
A free evaluation is a good place to start. It gives you a clear look at your current records and what would help most next. Book a free evaluation to see what is included, or contact us directly to pick a time that works for you.
Last Updated: November 8, 2026
Frequently Asked Questions
How do you reconcile in QuickBooks Online for the first time?
Start by confirming your opening balance matches your bank records as of the date you began using QuickBooks Online. Then open the Reconcile tool from the Tools menu, select the bank account, enter the statement ending date and ending balance exactly as they appear on your statement, and click Continue. Mark each transaction that appears on the statement as cleared, and keep matching until the difference shows zero. Save the reconciliation only when the difference is zero.
How do you fix a reconciliation discrepancy in QuickBooks Online?
A discrepancy means the cleared balance does not match the statement ending balance. Check first that you entered the correct ending date and balance. Then look for transactions missing from QuickBooks, duplicates, or entries with the wrong amount or date. Compare the statement line by line against the register, and correct the entry rather than adjusting the balance to force a match. A zero difference is what confirms the account is accurate.
Can you undo a reconciliation in QuickBooks Online?
Yes. Open the account register, find the most recent reconciliation, and use the reconciliation history to undo or revert it. QuickBooks lets you reverse the last completed reconciliation so you can reopen the period and correct transactions. Reverse only what you need to, then reconcile again so the statement ending balance and date match the bank statement. Keep a note of what you changed for your records.
How do you reconcile a credit card account in QuickBooks Online?
Select the credit card account in the Reconcile tool and enter the statement closing date and new balance from your card statement. Charges appear as payments reducing the balance, so match each charge and payment against the statement. Mark them as cleared, confirm the difference is zero, and save. Review any interest or fee lines on the statement, because these often need to be entered before the balance will match.